Entrepreneurship is nothing new in the US. In fact, it was exceedingly common before industrialization when people often worked on farms or in specific trades. The rise of factories and large cities didn’t kill the entrepreneurial spirit, but entrepreneurship did decline over the course of the 20th century. Even so, better than 60 percent of Americans hold on to the idea of owning their own business. The Covid pandemic, of all things, kicked off a new era of entrepreneurship. People who thought about joining the ranks of custom clothes sellers started doing it.
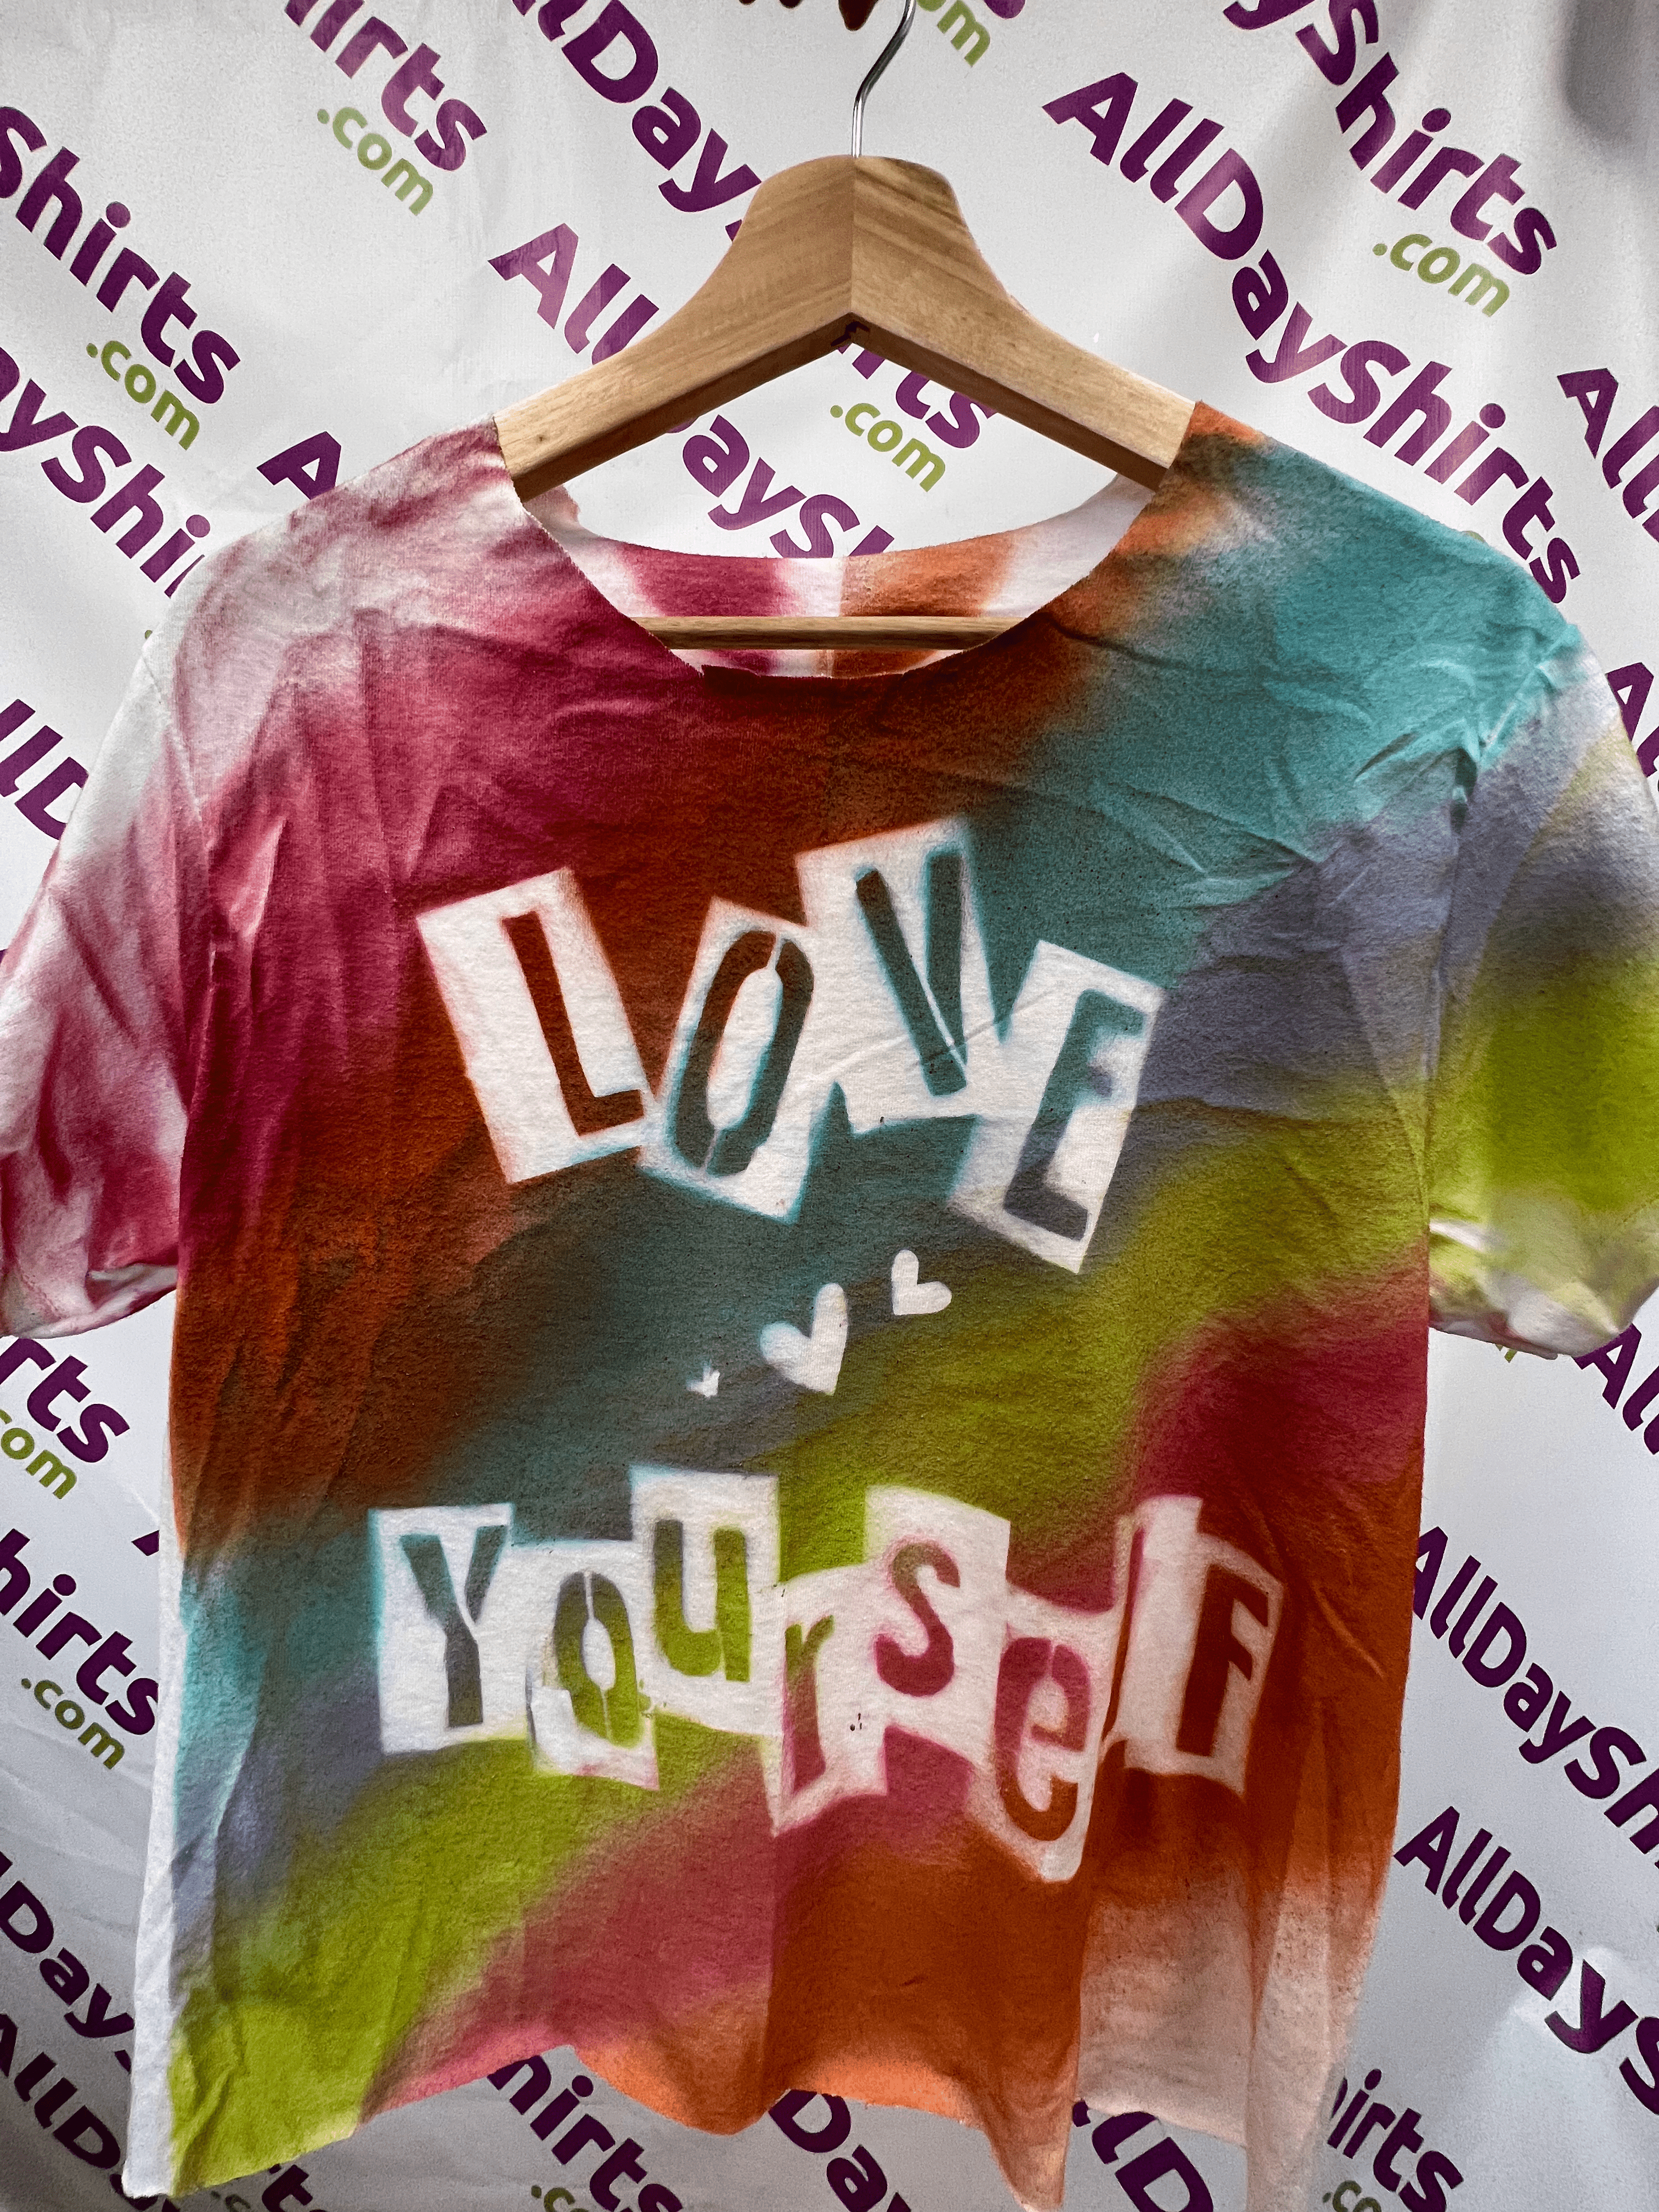
Of course, you have a lot of options for your custom clothes venture. You could design your own fashion line or get into embroidered clothing. If you want to head in a different direction that lets you embrace creativity, but takes less upfront investment, spray-painted t-shirts are an ideal option. Not sure how you make a spray-painted t-shirt? Keep reading for our step-by-step guide about how to spray paint a t-shirt.
Supplies
You will need some essential supplies before you can unleash your spray painting genius. Some key items will include
- T-shirts
- Spray paint
- Stencil material
- Cutting tool
Let’s start with the t-shirts themselves. You can get t-shirts at all kinds of price points and quality levels. For a nice balance between cost and quality, we recommend the Gildan G500.

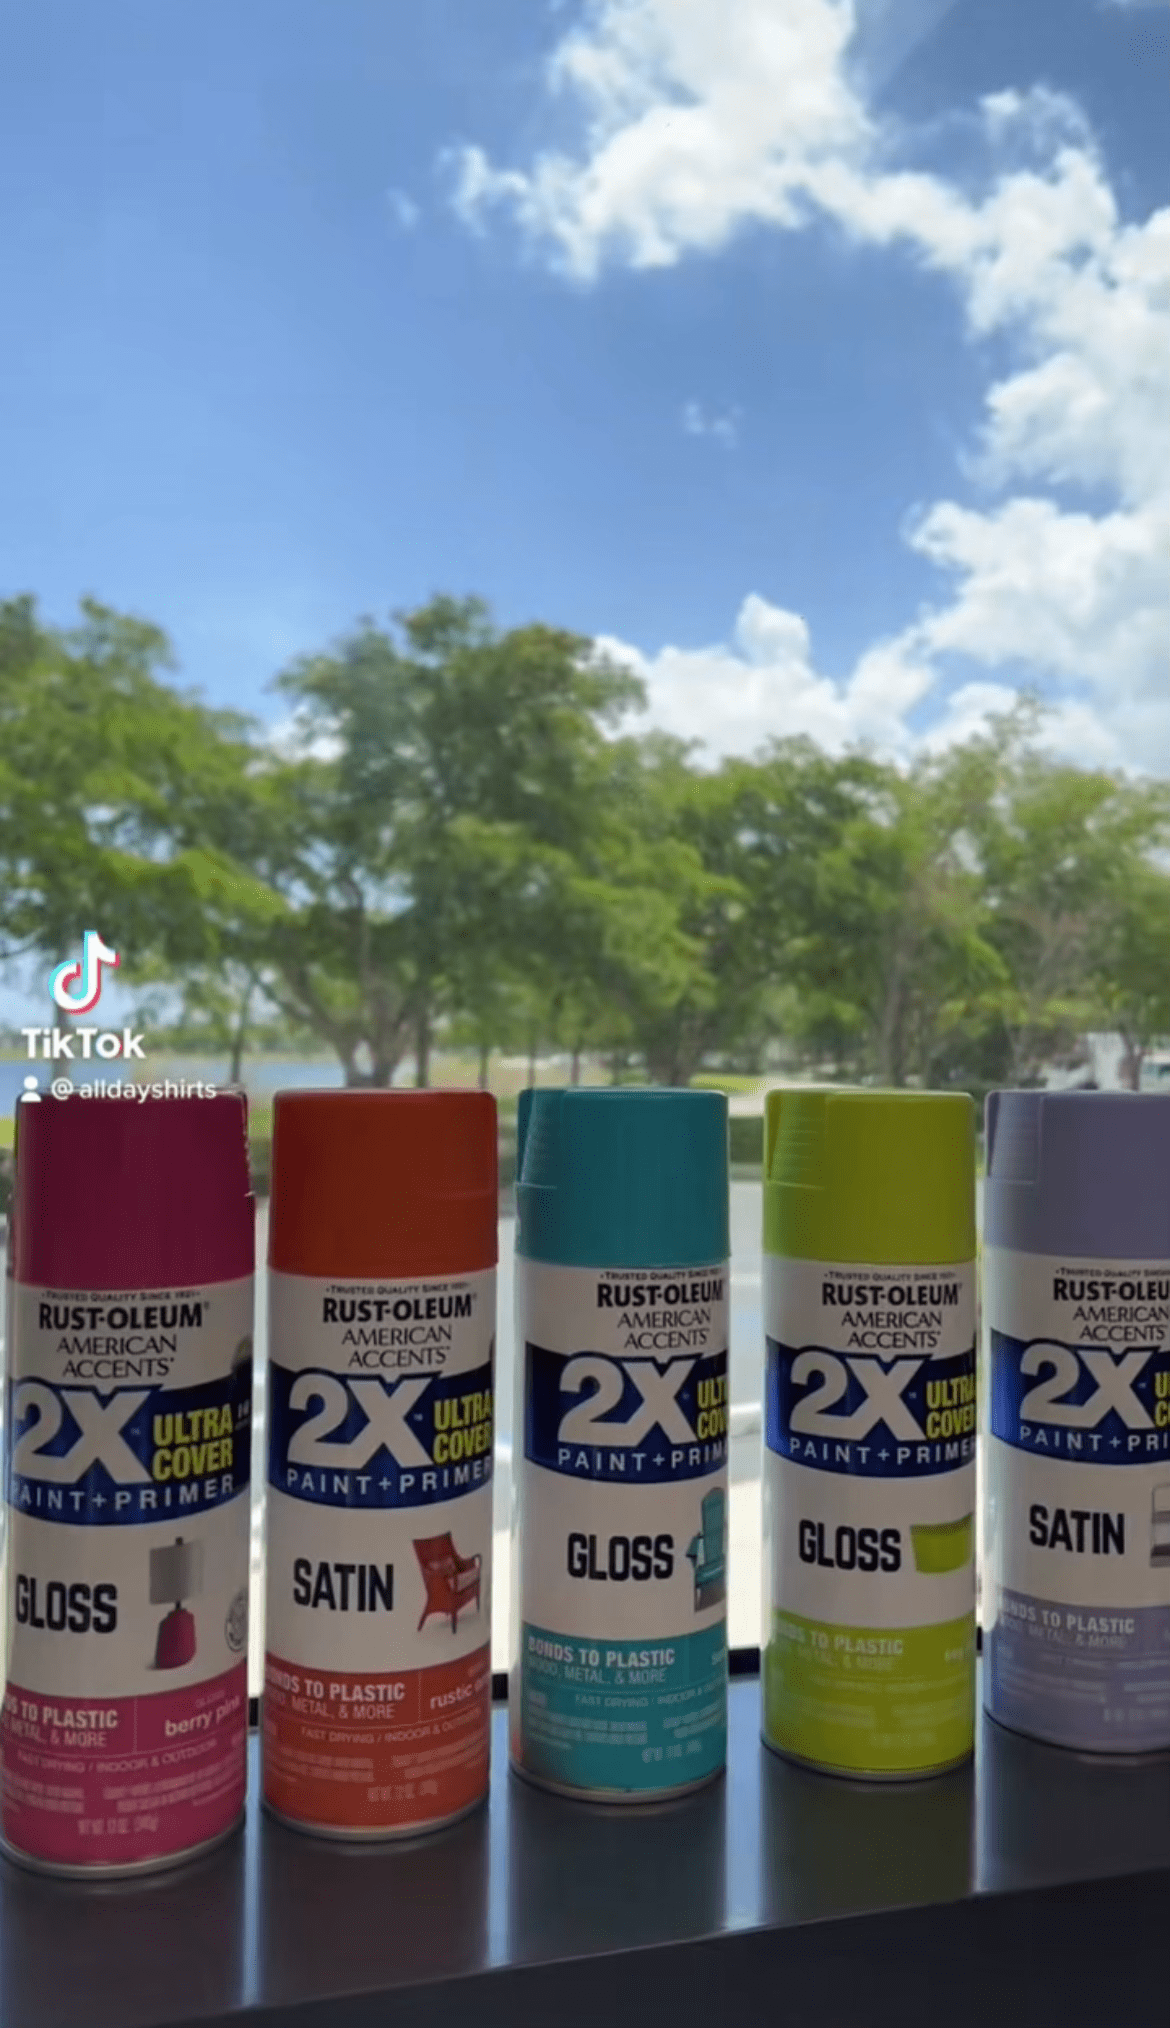
Next up is the spray paint. You want to make sure that you a fabric or vinyl paint for your t-shirts to get the best results. We like the Rust-Oleum Spray Paint, but there are lots of other options, such as:
- Tulip Permanent Fabric Spray Paints
- Krylon COLORmaxx Spray Paint
- Simply Spray Fabric Spray Paint
- Tulip Glitter Spray Paint
- Rust-Oleum Specialty Outdoor Fabric Paint
- Montana Cans Acrylic Spray Paint
- Dupli-Color Vinyl and Fabric Spray
- Tulip Neon Fabric Spray Paint
- Tulip Multicolor Fabric Spray Paint
For the stencil material, you have some options. If you only plan on making a limited number of any given design, you can get away with heavy card stock. Material about as thick as your average shoebox will work. For that matter, a leftover shoebox cover will do the trick.
If you want something more durable for bigger batches, you’ll want a plastic stencil blank. Acetate sheets work well.
You’ll also need a good cutting tool for making the stencil. A craft knife or X-acto knife will do the trick if you're working with card stock. You can use these knives on plastic stencils, but a hot craft knife will often get you cleaner lines. If you’ve never used a hot craft knife before, make sure you practice with it a few times before you try to make your stencil.
Setup
You’ll need the right kind of setup to make a spray-painted t-shirt. First things first, you need a well-ventilated area. You don’t want to be using spray paint inside of your home. If you’re working from home, a garage can do the trick. If you’re apartment-bound, you’ll probably want to work outside. Look for a sheltered area to minimize particulates in the air.
You’ll need a fairly sturdy flat surface to work on. A basic 6-foot workbench is best since it gives you some space to spread out. If you don’t have the space for a permanent setup, a collapsible plastic table is your next best bet. Look for one that folds in the middle to make storage easier.
Process
Okay, so you’ve got your supplies and your setup ready. Now, let’s get down to the fun stuff.
Stencil Design
You’ll need a good design for your stencil. You can draw these by hand, but you’ll probably want some kind of design tool. If you’re a Cricut fan – and we are – then you can use their design app. Depending on your Cricut machine, you can use it to draw the stencil onto your blanks or even cut it for you.
If you are working by hand or with another design program, remember that you’re cutting around the edges of the design space and leaving an empty spot in the middle.
Stencil Creation
When you go to cut out the stencil, remember that safety comes first. Work on a stable surface. Craft knife blades are extremely sharp and hot craft knives can burn you, so you don’t want anything slipping. Also, make sure you put something under the stencil blank to protect your work surface.
Spray Painting Setup
You want some separation between the front and the back of your t-shirts. You also need the painted surface to rest perfectly flat. You should slip something flat and paint-resistant inside the shirt to protect it from bleed-through. A plastic stencil blank can do the trick.
Once you have the shirt in place, you’ll want to smooth the surface of the shirt to limit any wrinkles. Then, you position the stencil on the shirt. Make sure it’s centered on the shirt so the design looks balanced. Some people use double-sided fabric tape to help hold the stencil in place.
Applying the Paint
When you put the paint on the shirt, remember that you’re working with spray paint. You’ll want even coverage over the holes in the stencil. Use smooth, even passes with the paint can until you get the coverage you want.
Drying
Every brand of fabric paint will offer drying time recommendations. Keep in mind that weather conditions can speed up or slow down the drying time. Cool, damp weather will slow things down, while hot, dry weather will speed things up. As a general rule of thumb, let the shirts dry while lying flat for around 24 hours. That gives the paint enough time to form a cured skin.

Wrapping Up
The nice thing about making a spray-painted t-shirt, is that making one or fifty it goes fairly quickly once you have the setup in place and the stencil made. Most of the effort goes into getting the initial supplies, organizing your workspace, and creating the stencil. If you do plan on selling the shirts, make sure you include care instructions with them. The paint manufacturers should include recommendations with the paint.
- Christmas Fun Starts with Custom Hoodies & Crewnecks Using DTF Printing
- Thanksgiving DTF Apparel: Create Cozy, Colorful, and Custom Looks This Holiday Season
- Halloween DTF Apparel: Create Spooky Custom Looks with Jerzees 562 and 996 from AllDayShirts.com
- The Ultimate Guide to Soft Style Gildan Fleece: Comfort, Style, and Value for Every Wardrobe
- Why Acrylic Beanies Are a Unique Challenge
- Jerzees Fleece: The Perfect Blend of Comfort, Style, and Value
- Back-to-School DTF Printing: The Ultimate Guide to Custom Apparel for Students and Schools
- Image Enhancer for DTF Printing: How to Unlock Sharper, Brighter, and More Professional Prints
- How to Apply UV DTF: The Complete Step-by-Step Guide
- Introducing Print-on-Demand Hats: Featuring the Richardson 112, Otto 5-Panel Mid Profile Cap & High Crown Mesh Back Trucker


